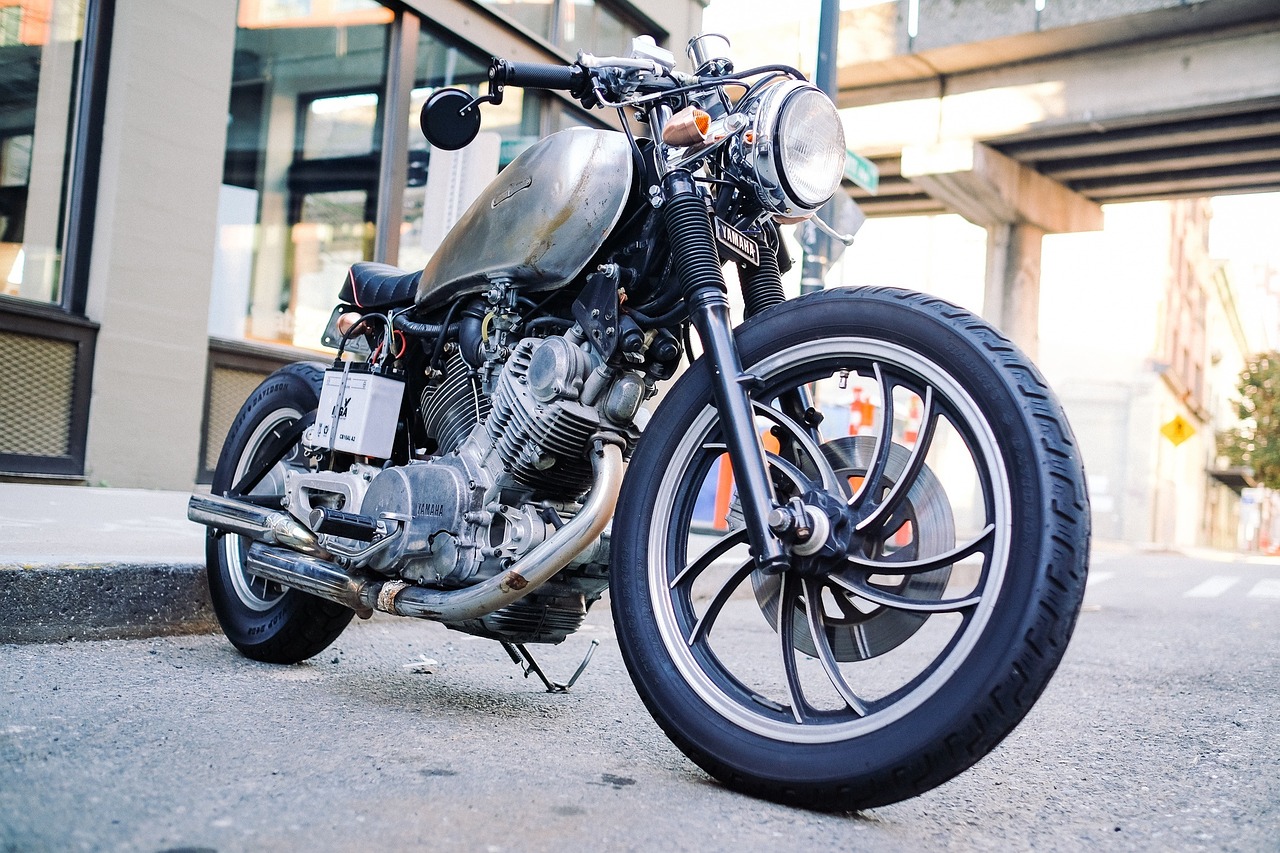
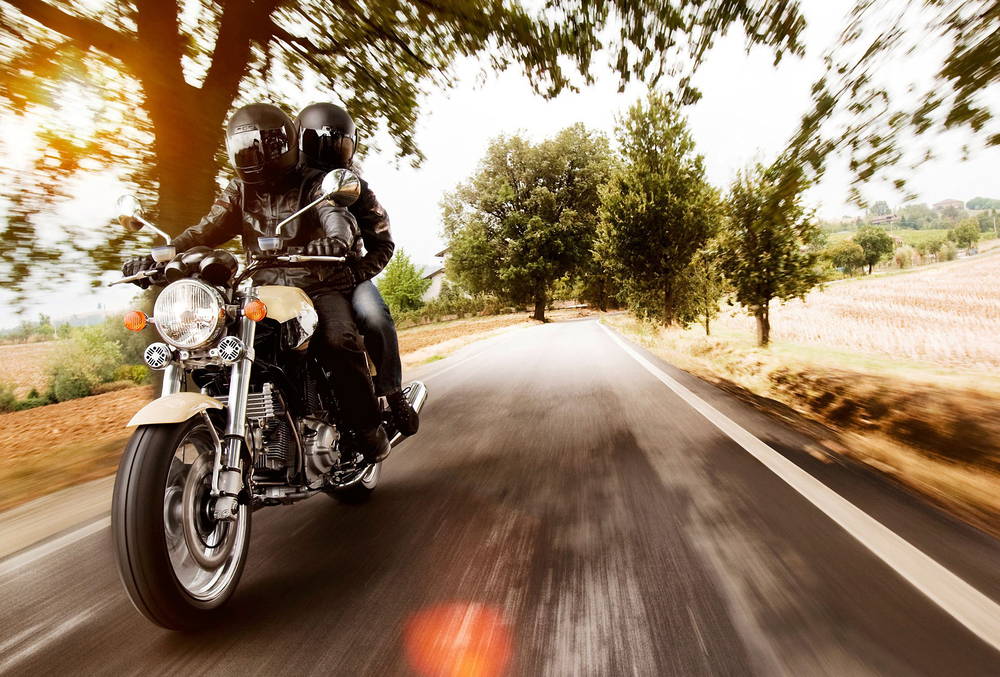
Your tires are easily one of the most important parts of your motorcycle. They're what provide grip, control, and safety.
Balancing a new motorcycle tire is essential to making sure you have a safe, smooth ride.
You can cheaply and easily balance a motorcycle tire at home, with inexpensive equipment, and a little bit of patience.
In this article, we're going to dive into the best way to balance a motorcycle tire yourself.
Let's get started!
What You Need
Balancing a tire doesn't take much, but you still need the right gear to get the job done. Here's everything you need to have on hand to balance a motorcycle tire.
- A motorcycle tire - Yeah, it's obvious.
- A level - You're going to use this to make sure the balancer is on a level surface
- A static balancer - This is the device used to balance the tire
- Wheel weights - Get low interval variable wheel weights for the most precision
- Degreaser - This is to remove debris from the wheel to ensure an accurate balance
- Duct tape (optional) - This is to make sure the wheel weights stay in place, but it isn't always necessary.
Setting Up The Balancer
To make sure your wheels are correctly balanced, you need to make sure your balancer is on a stable, level surface.
Assuming your tire is already off of the motorcycle, setting up the balance correctly is the first step.
Place the static balancer on what you assume is a stable, level surface that gives you plenty of room to work. Once you've decided on a spot, place a level on top of the balancer, making sure its perfectly level.
>> Related Content: Best Motorcycle Tires
Attach The Wheel
Your balancer will come with a rod and two cones. The cones are used to keep the wheel in place.
Slide the wheel onto the rod and attach the cones. You want to make sure each cone is securely in place, equidistant on each side.
Initial Balance Reading
Place the wheel on the balancer and let it naturally roll. For most tires, this should take a minute or two before the wheel comes to a stop.
The part of the wheel that's at the bottom of the balancer is the heaviest part, and the part at the top is the lightest.
To balance a wheel, you need to add weight to the lightest part of the wheel, so it balances.
Adding Weights
Now that you know where to add the weights take a small section of your wheel weights and loosely attach them to the tire. If the wheel weights have an adhesive back, only peel back half of it so you can remove them if needed.
Once you've added some weight, spin your wheel so that the lightest part is directly in the center of the balancer.
If the weight is perfect, the wheel shouldn't move, but it's unlikely you got it perfect right off the bat.
More than likely, the light section of the wheel will start to move upward again. If this is the case, progressively add more weight until it no longer moves.
Check Your Work
Once you think you've balanced the wheel, spin the wheel, so the area where you added weights is in different areas. A perfectly balanced wheel won't spin by itself, no matter where the section of the wheel with the weights are.
Once you know your tire is balanced, permanently adhere the wheel weights to the tire and cover with duct tape as needed.
That's it!
You've successfully balanced a motorcycle tire, and all that's left is to reattach it and get riding.
Did you find this article helpful? Let us know in the comments section below.


